Windows
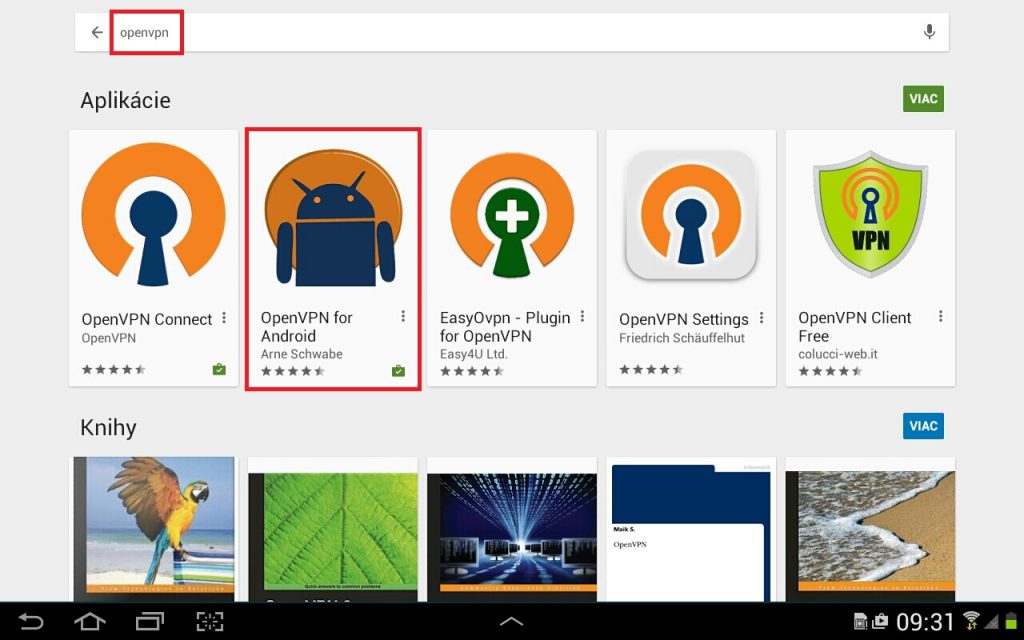
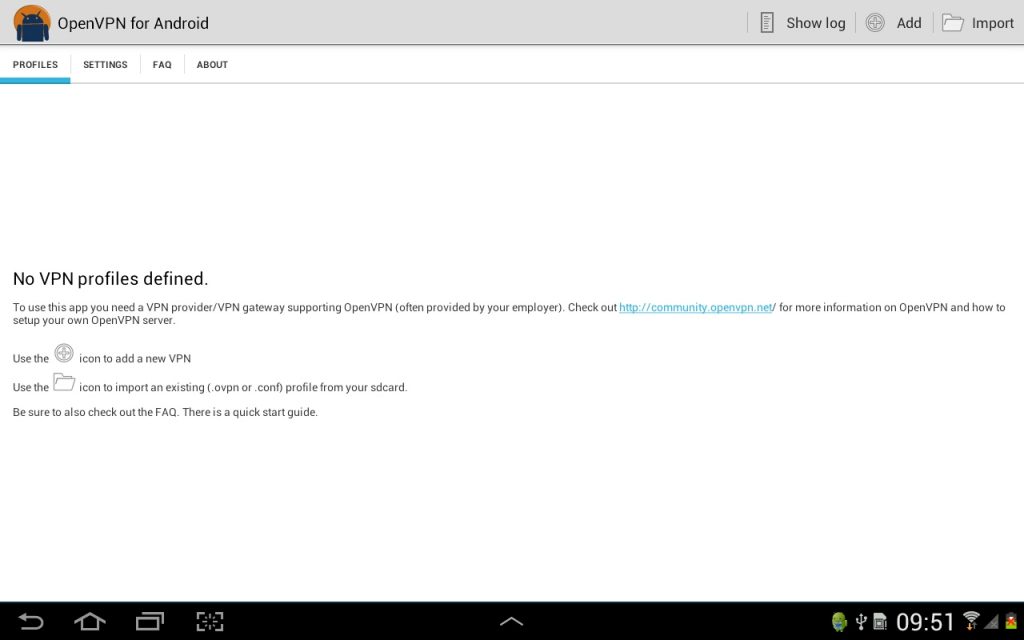
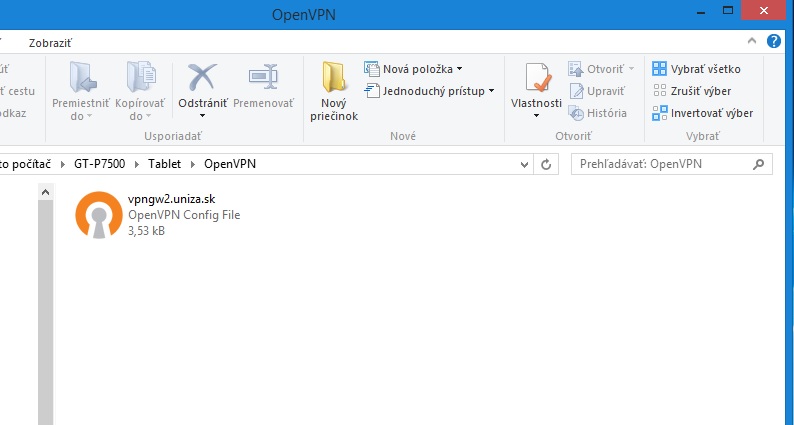
Android
1. Depending on your version of Windows, download the OpenVPN client from the appropriate link
- Windows XP
- Windows Vista, Windows 7, Windows 8, Windows 10, Windows 11 - 32 bit
- Windows Vista, Windows 7, Windows 8, Windows 10, Windows 11 - 64 bit
2. Run the downloaded file.
3. Follow the steps in the images below to complete the installation:
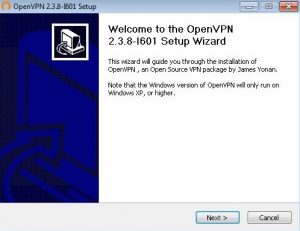
Once the installation begins, click the NEXT button.
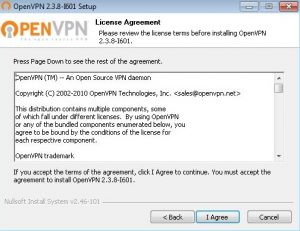
Accept the license terms by clicking the “I AGREE” button.
In the next step, we do not change the default settings and proceed directly by clicking the NEXT button.
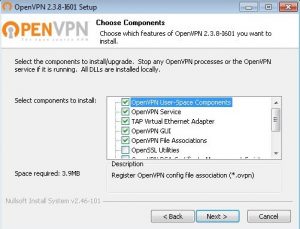
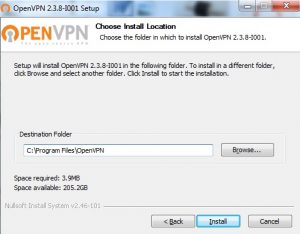
Select C:\Program Files\OpenVPN as the destination folder, then click INSTALL.
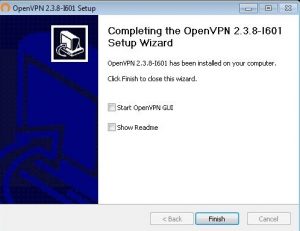
The final step of the installation is to click the FINISH button.
4. Next, you need to configure the system so that the OpenVPN client is launched by the system administrator. Follow the steps shown in the images below.
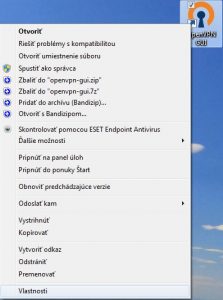
Right-click the OpenVPN GUI icon on your desktop and select PROPERTIES.
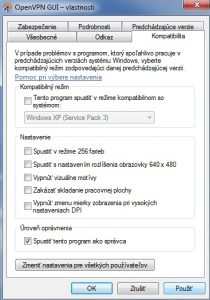
In the Properties window that opens, select the COMPATIBILITY tab and check the “Run this program as an administrator” box. Confirm by clicking the APPLY button, then OK.
Launch the client by double-clicking the OpenVPN GUI icon on your desktop. An icon in the taskbar will notify you that the client has started.
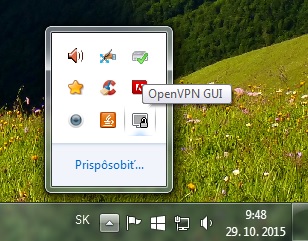
5. Download the configuration files needed to connect to the UNIZA VPN.
.ZIP konfiguračný súbor klienta OpenVPN
6. Unzip the downloaded files and copy them to the C:\Program Files\OpenVPN\config\ directory.
7. Launch the client by double-clicking the OpenVPN GUI icon on your desktop. On the taskbar, right-click the OpenVPN icon and click CONNECT.
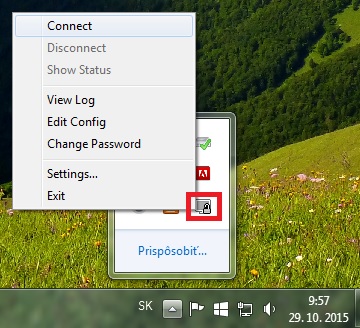
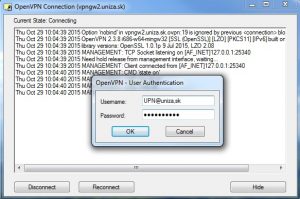
8. Enter your login credentials in the format UID@uniza.sk, or for employees UPN@uniza.sk – for students UPN@stud.uniza.sk (personal student/employee number) and your password. The UID is your personal employee/student number.
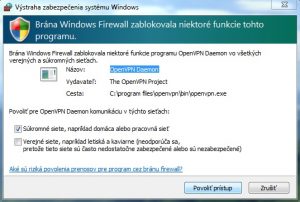
9. If you see a message stating that some OpenVPN features are blocked, click ALLOW ACCESS.
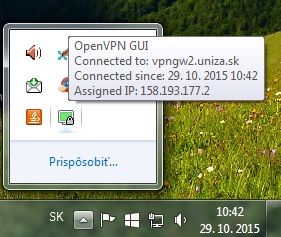
10. You have successfully connected to the VPN network.


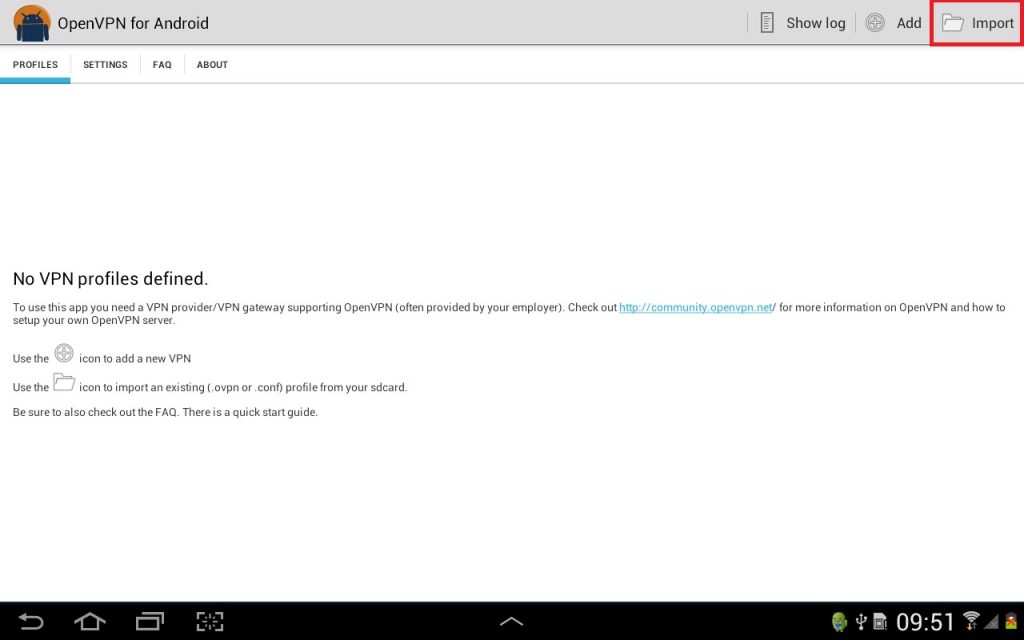
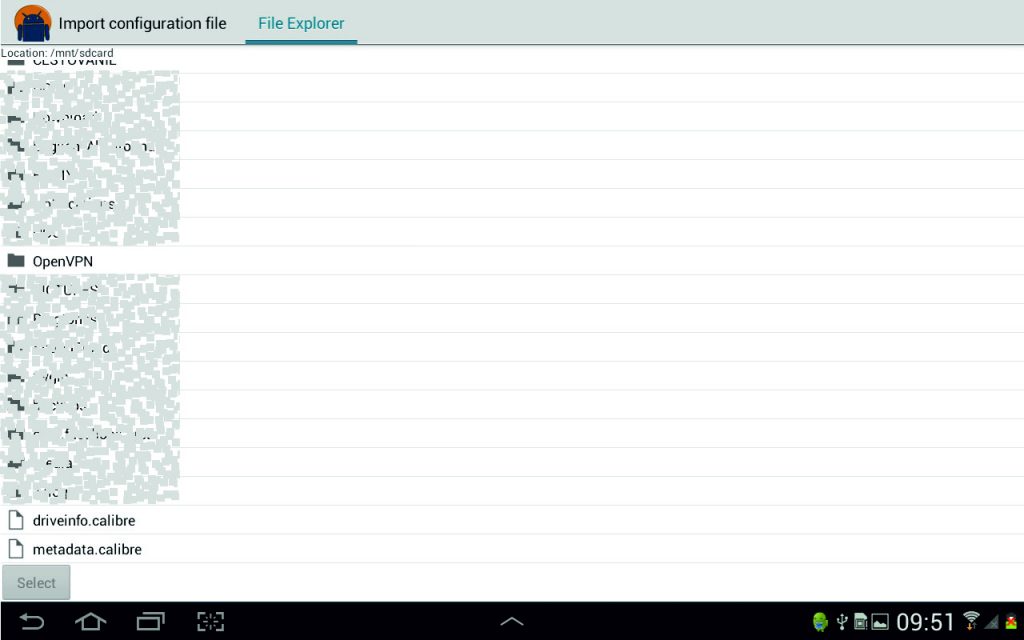
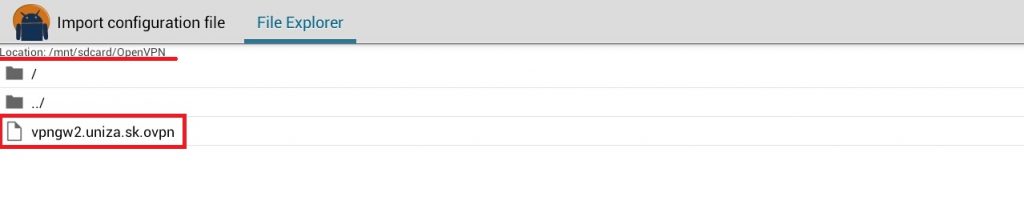


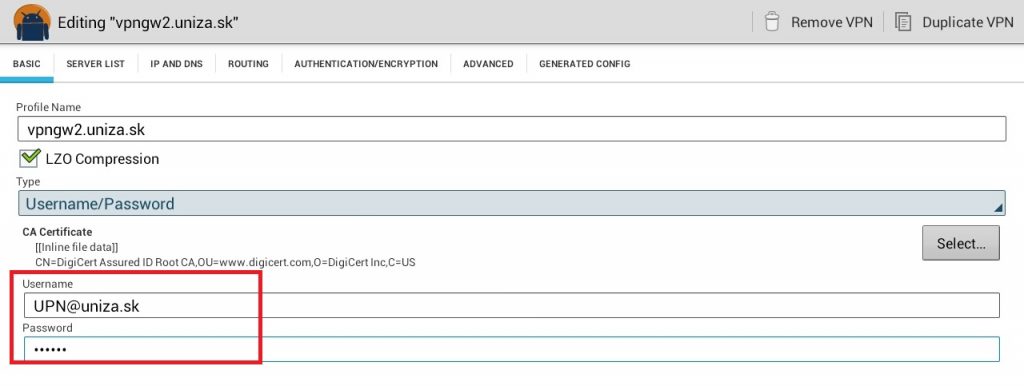
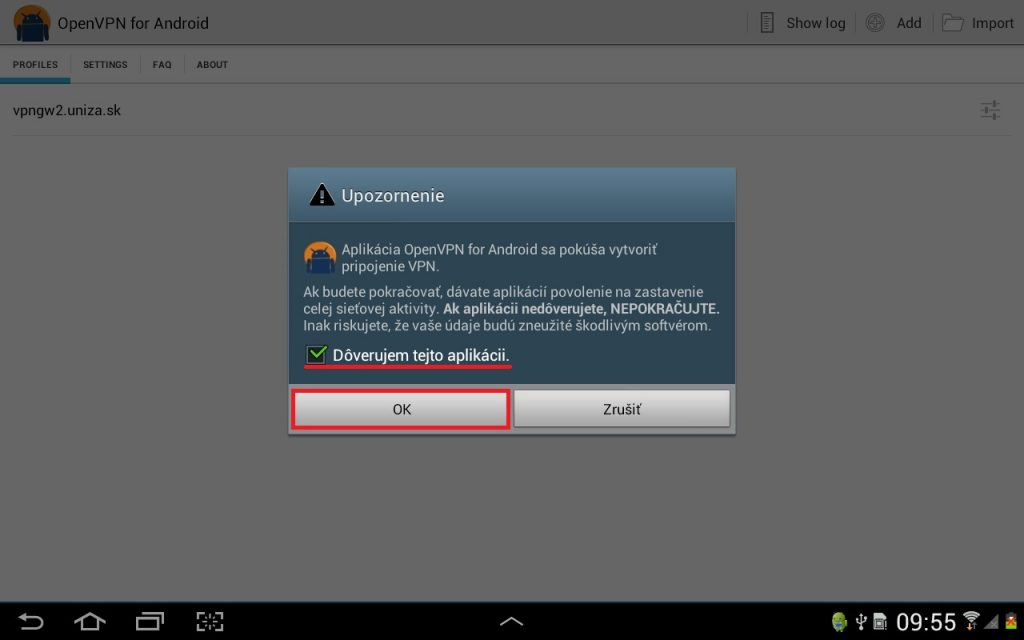
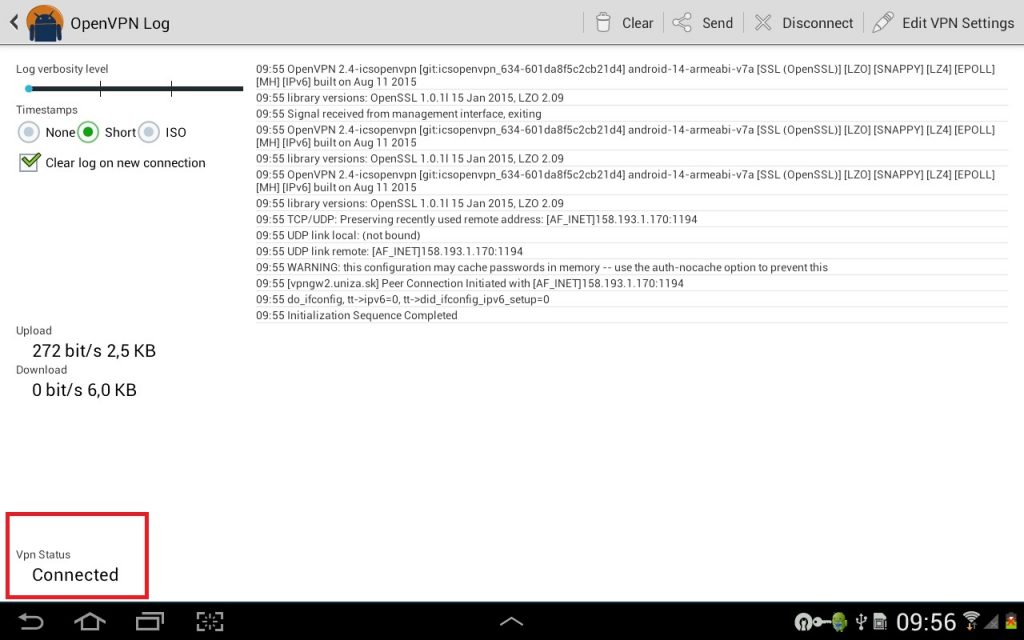
If you have successfully installed the OpenVPN client but are still unable to connect to the network using your login credentials, it means that the OpenVPN service has not been automatically activated in your LDAP account. Therefore, we will activate it manually.
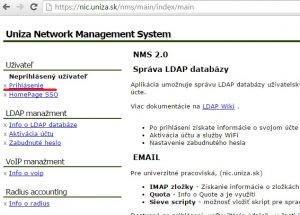
1. Log in to your account management page at: (Prihlásenie) https://nic.uniza.sk/nms/main/index/main
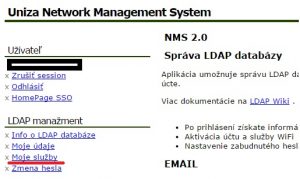
2. After logging in, select “Moje služby” from the left panel: (My Services)
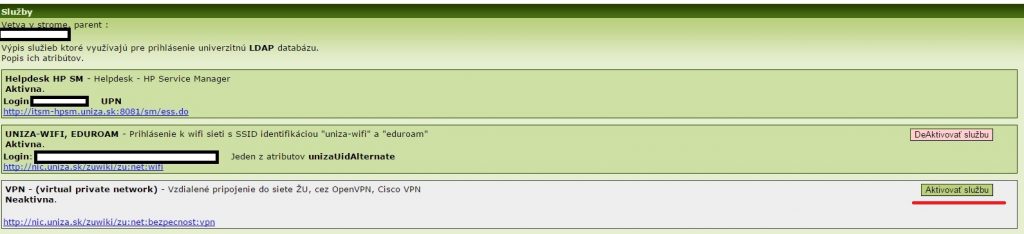
3. Select the VPN (virtual private network) service from the list and click Aktivovať službu: (Activate Service)